
DIY Budget Headgear
 grahambriggs
Corvallis
grahambriggs
Corvallis
The Open BCI UltraCortex MkIV head set with the Cyton board is a great low cost way to do some serious neuroscience. However, if you are not so serious, like you want to do a hobby project with BCI or perhaps something with a STEM class, it is still an expensive piece of kit. Even if you 3D print it yourself, it takes a few hundred dollars of raw materials.
If you just want to to do some beginner projects with EEG, you can build your own functional headgear on a budget for less then $40 (not including Cyton or Ganglion board).

Here is what you will need
- Hard Hat suspension with ratchet adjustment in the back (free if you have an old hard hat, you can buy one for about $15
- Some 2.5 mm jack screws and bolts, one for each sensor (about $3)
- Some 24 or 26 AWG wire and Dupont connectors (about $5)
- Some scraps of ½ inch medium or high density foam (scrounge some for free)
- A bag of the small comb dry electrodes $10 from here
I tested this setup with the Cyton ($499) board, it should also work with Gaglion ($249) where you could have a fully functioning setup for under $300.
Before you start, figure out where on the headset you want to mount the board. When you cut the wires for the sensors, allow enough length from sensor position to get to the board with enough slack around the headset.
Step 1: Mount the FP1 and FP2 sensors in the front band of the hat
- Cut two lengths of wire to reach from front of hat to board location.
- Solder one end of the wire onto the jack screw.
- Crimp or solder a Dupont connector to the other end of the wire.
- For extra strength, you can reinforce the joint between the wire and the screw with some hot glue and a shrink wrap.

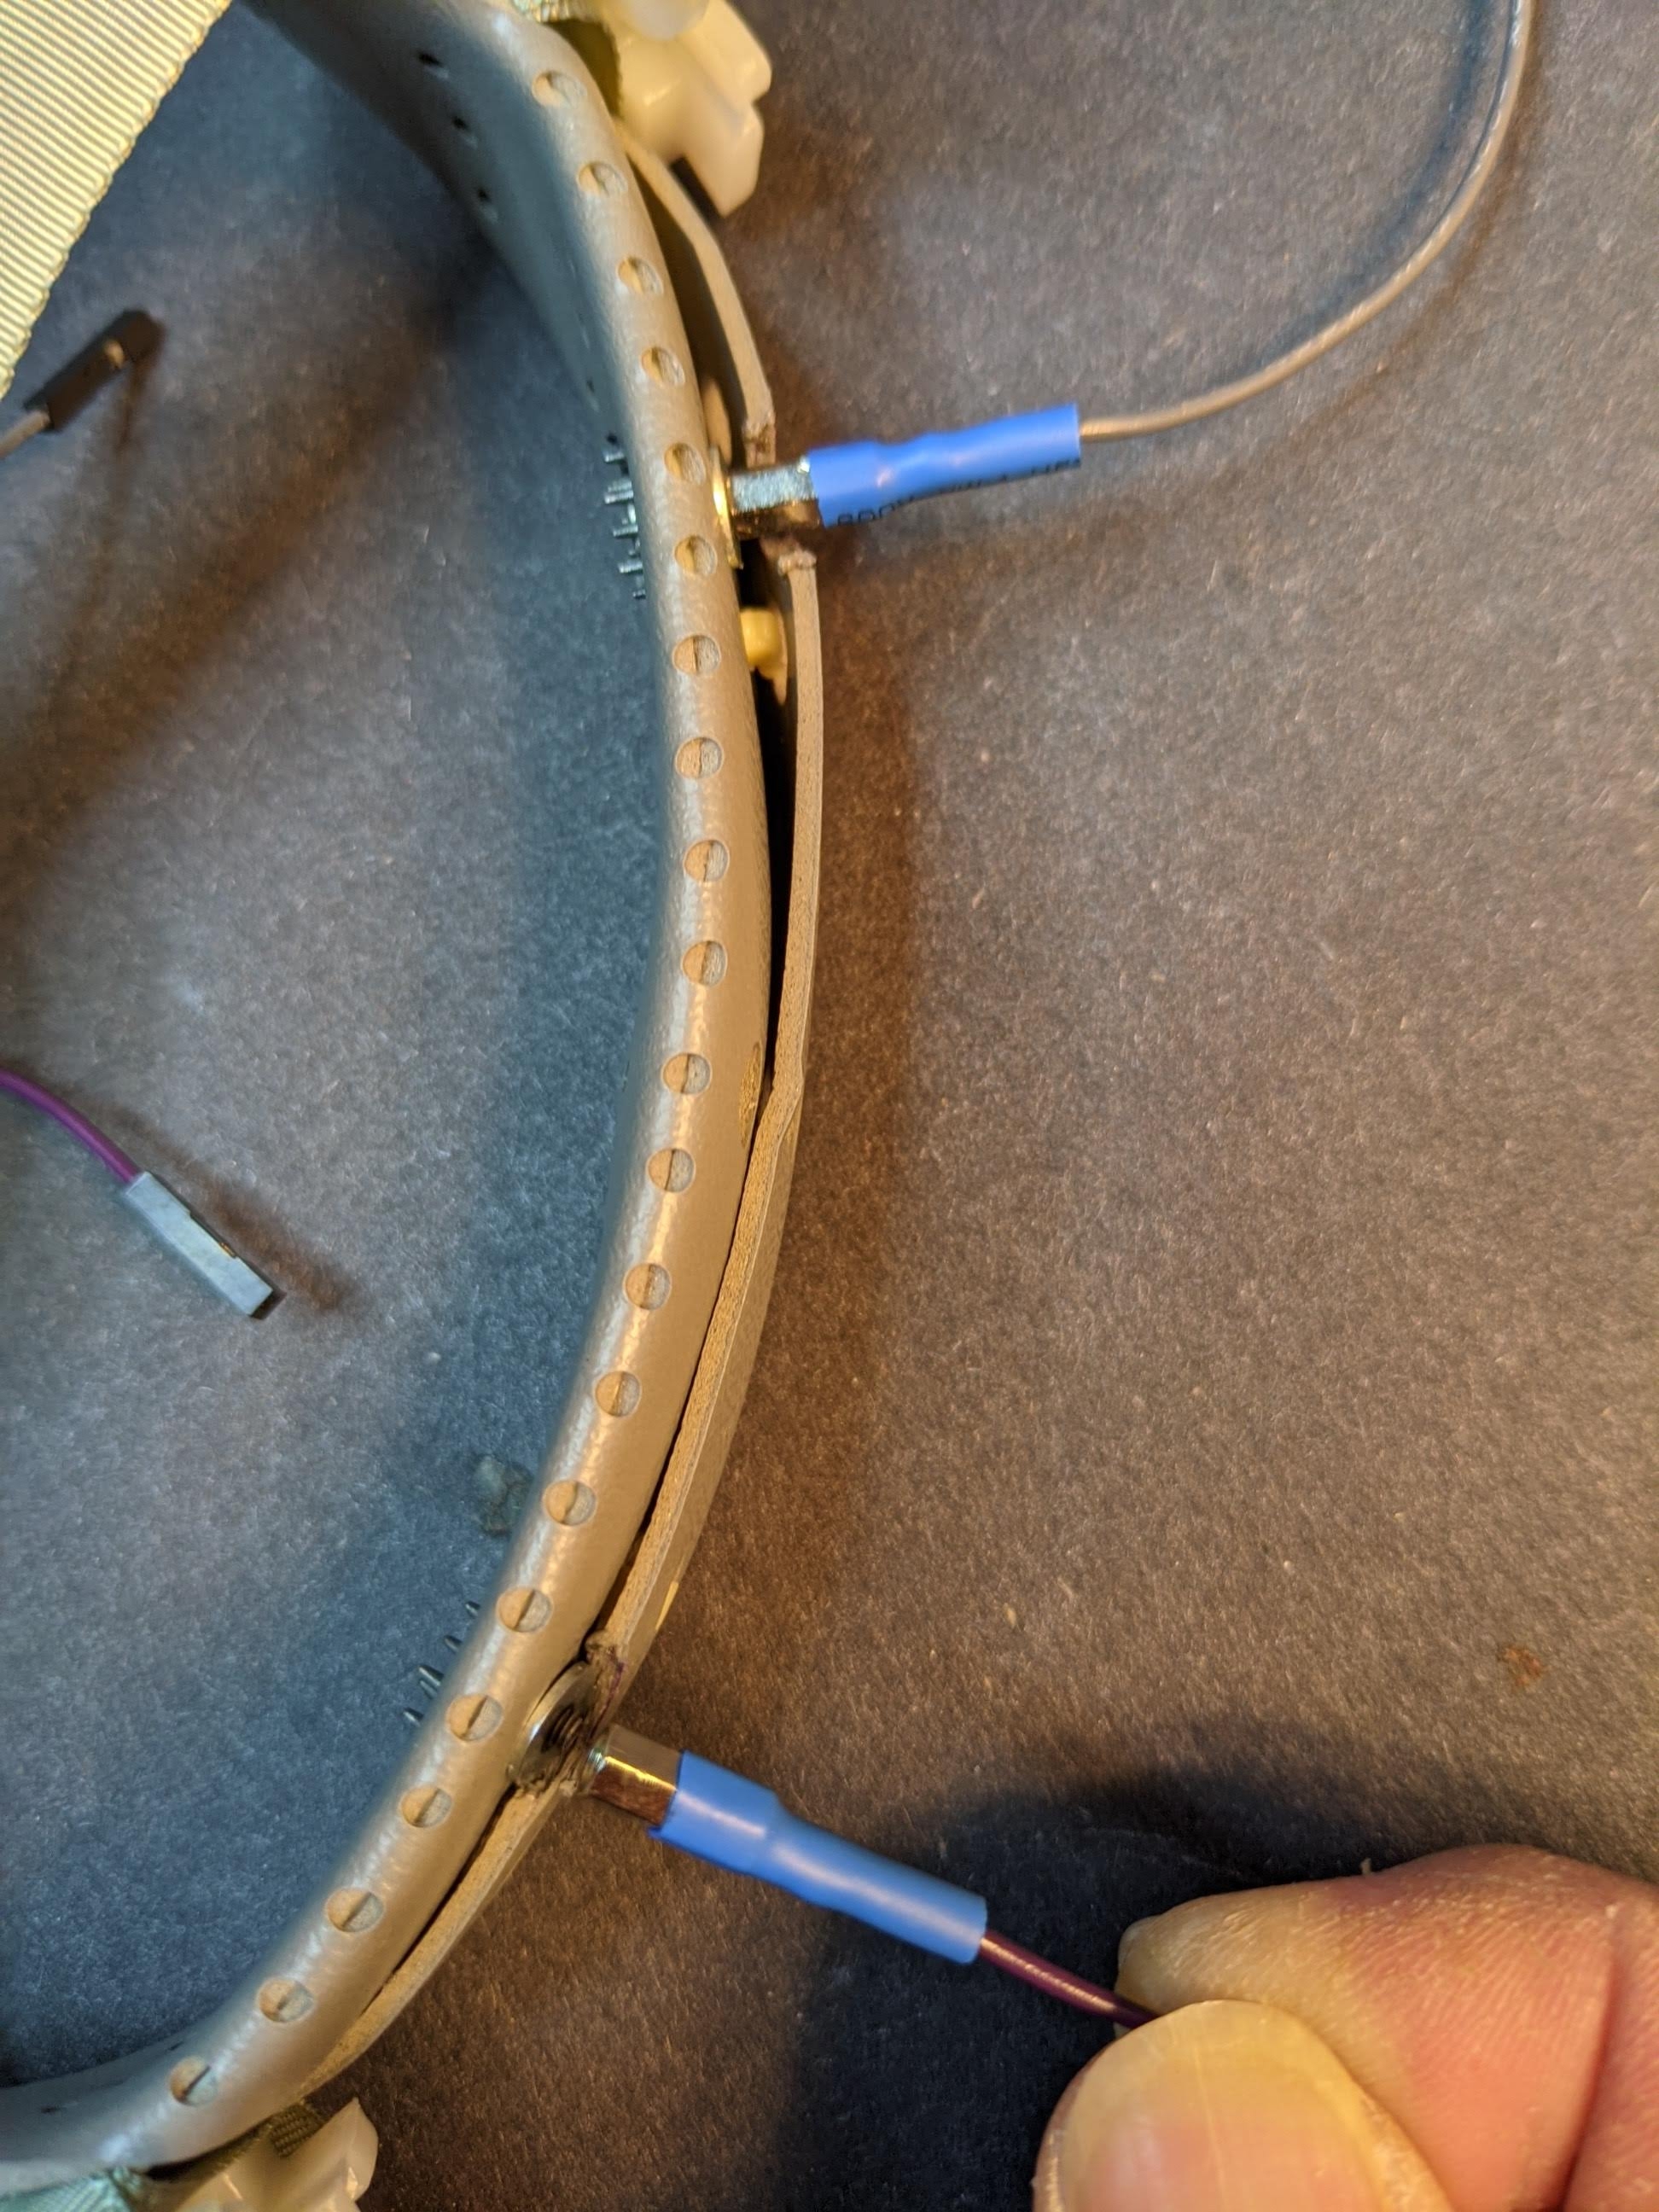
- Remove the comfort foam and drill a ⅝ inch hole in the front band 4 cm on each side of the centerline. These are the FP1 and FP2 positions.
- Refit the foam and mark where the holes are, then cut holes slightly larger than the diameter of the electrodes in the foam. Reinstall the foam.

- Insert the 2.5mm bolt into the electrode and put it through the hole. Use a small washer and then secure the electrodes from the outside of the hat.
Step 2: Create a mount for C3 and C4 on the top
- Cut a small piece of foam long enough to wrap from one side of the hat suspension at the ear, curved across the middle to the other side.
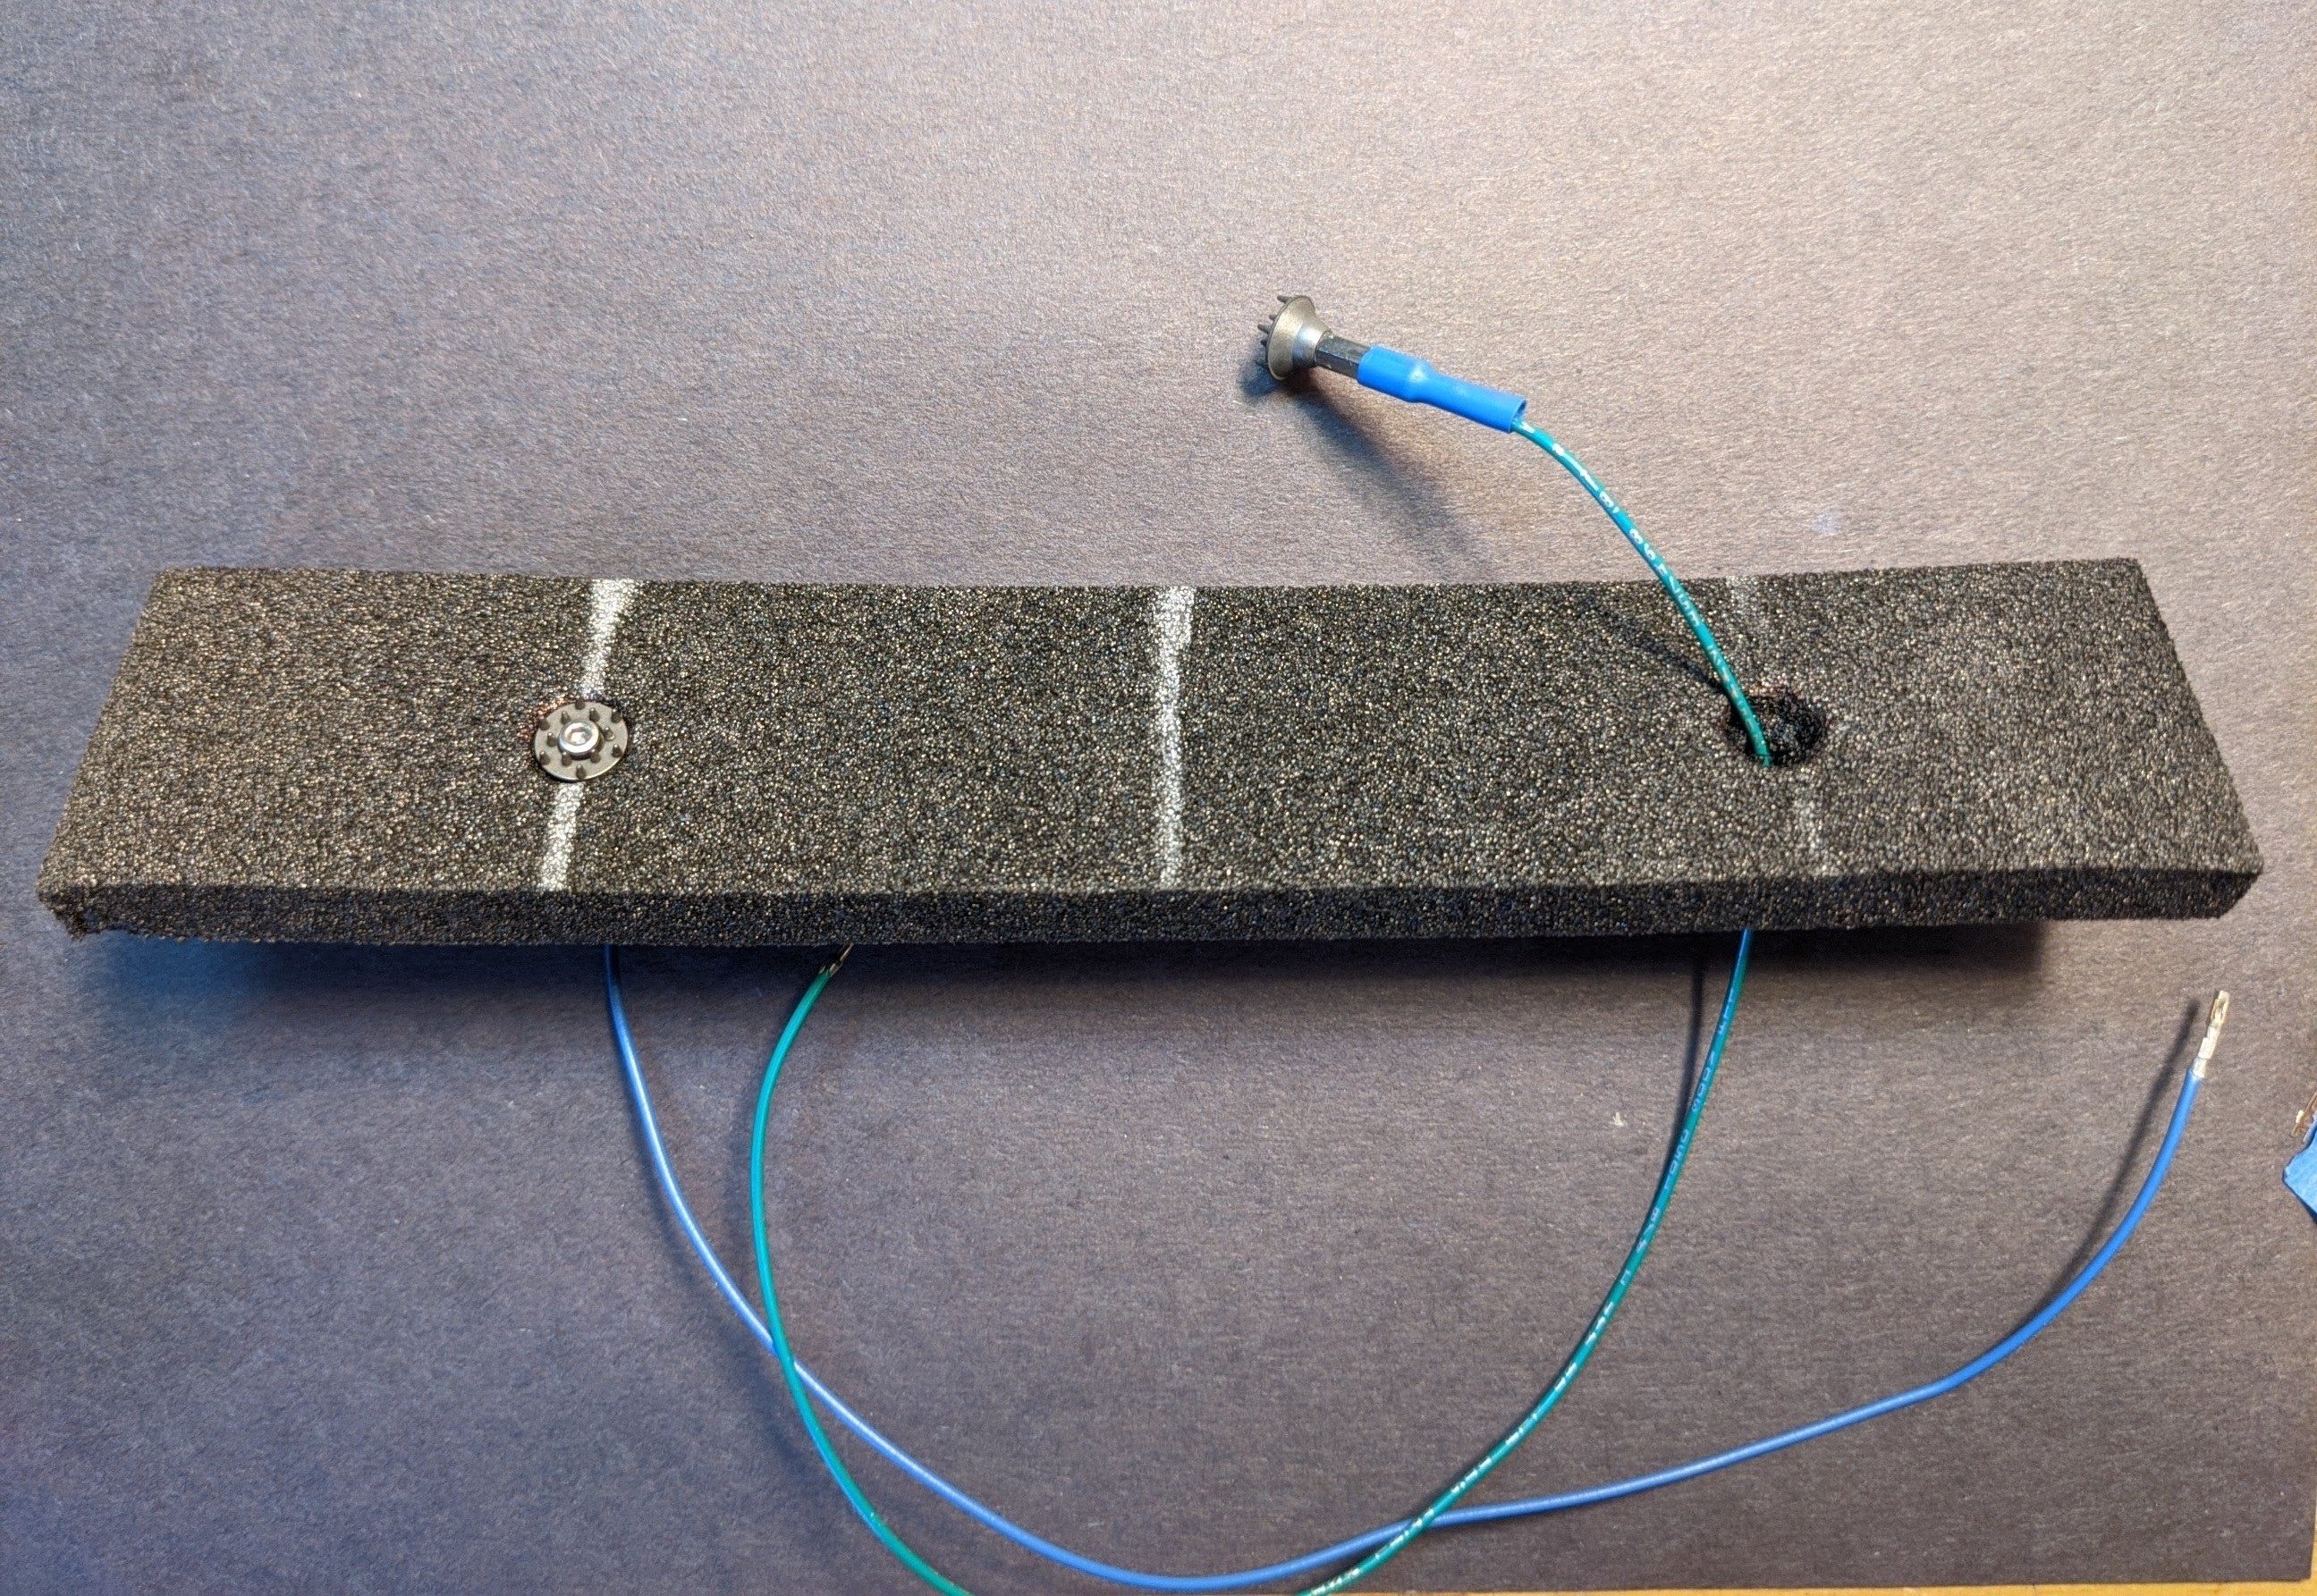
- Melt two small holes in the foam 5 cm on each side of the centerline, about half way through the thickness and the diameter of a sensor electrode. This will make a small pocket for the electrode to sit in.
- Solder two more sensor wires as in step 1. This time connect the electrode with the bolt and the wire.
- Poke a very small hole through the foam in the middle of each hole you melted.
- Carefully insert the electrode, connector (small) end first, through the hole, and feed the wire then the electrode screw through the hole until only a small bit of the sensor sticks out.
- Cut a slit in the side of the suspension, and using sticky velcro and velcro strips, you will fasten this piece in place and adjust it for fit when wearing the headgear.

Step 3: Mount O1 and O2 at the back of the hat
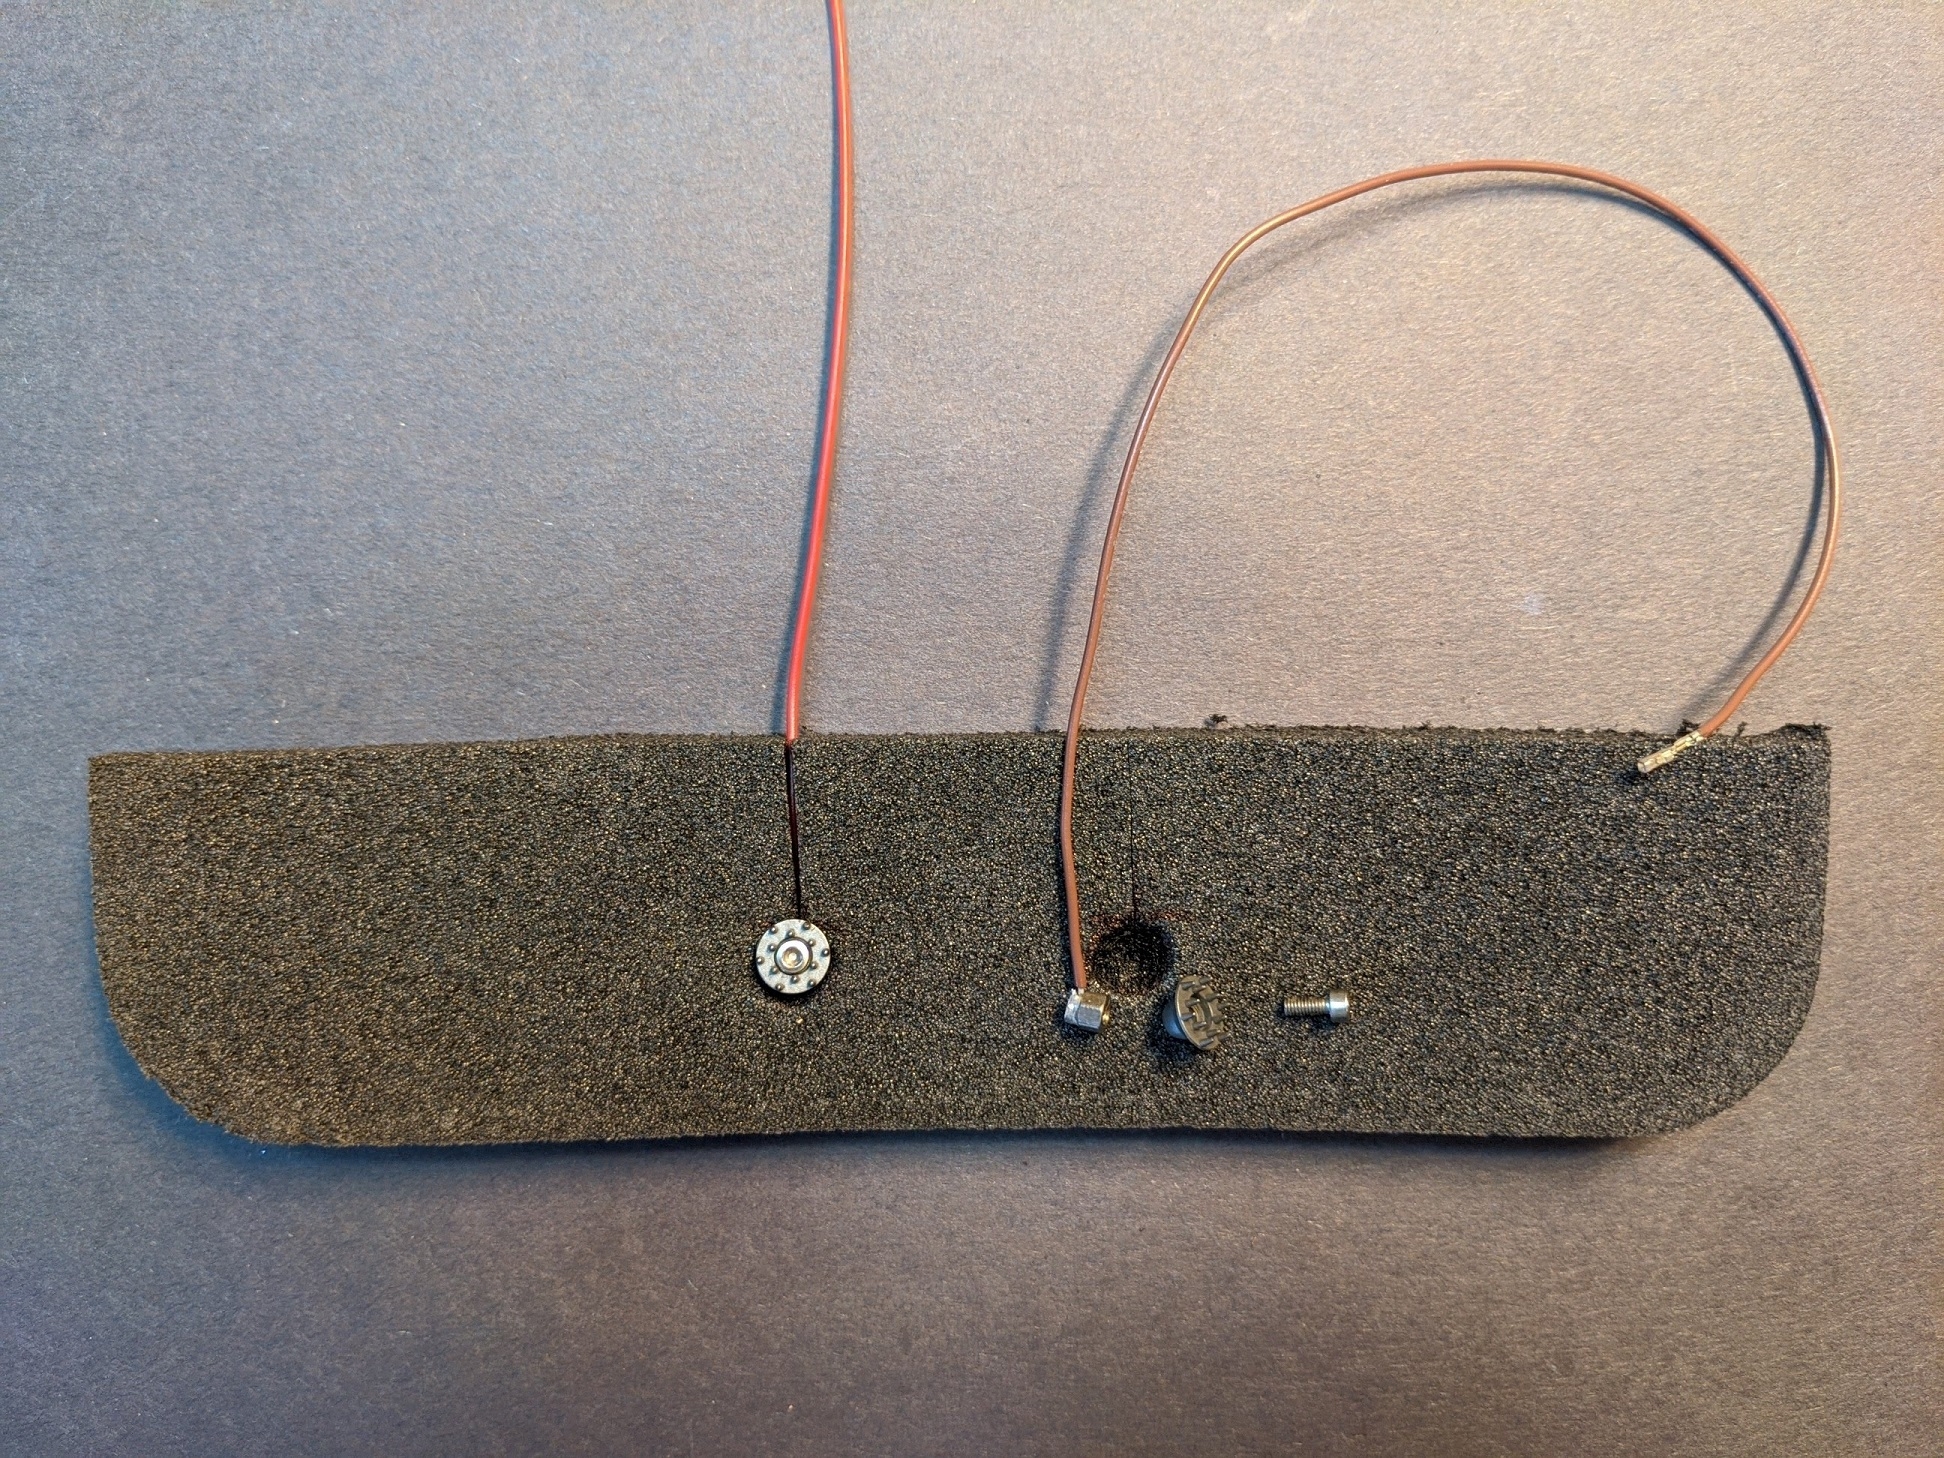
- Cut a piece of foam about twice as long and twice as wide as the rigid part of the suspension adjustment.
- Burn two holes 4cm on each side of the centerline for the O1 and O2 sensors.
- Solder two more sensor wires as in step 1, except use the smallest possible jack screw you can find.
- Make a small slit, half the width of the foam, upward from the position of each sensor.
- Push the sensors into place and guide the wire up through the slit.
- Using some epoxy glue, glue the foam to the rigid part of the hard hat suspension, tape it down and let it set.

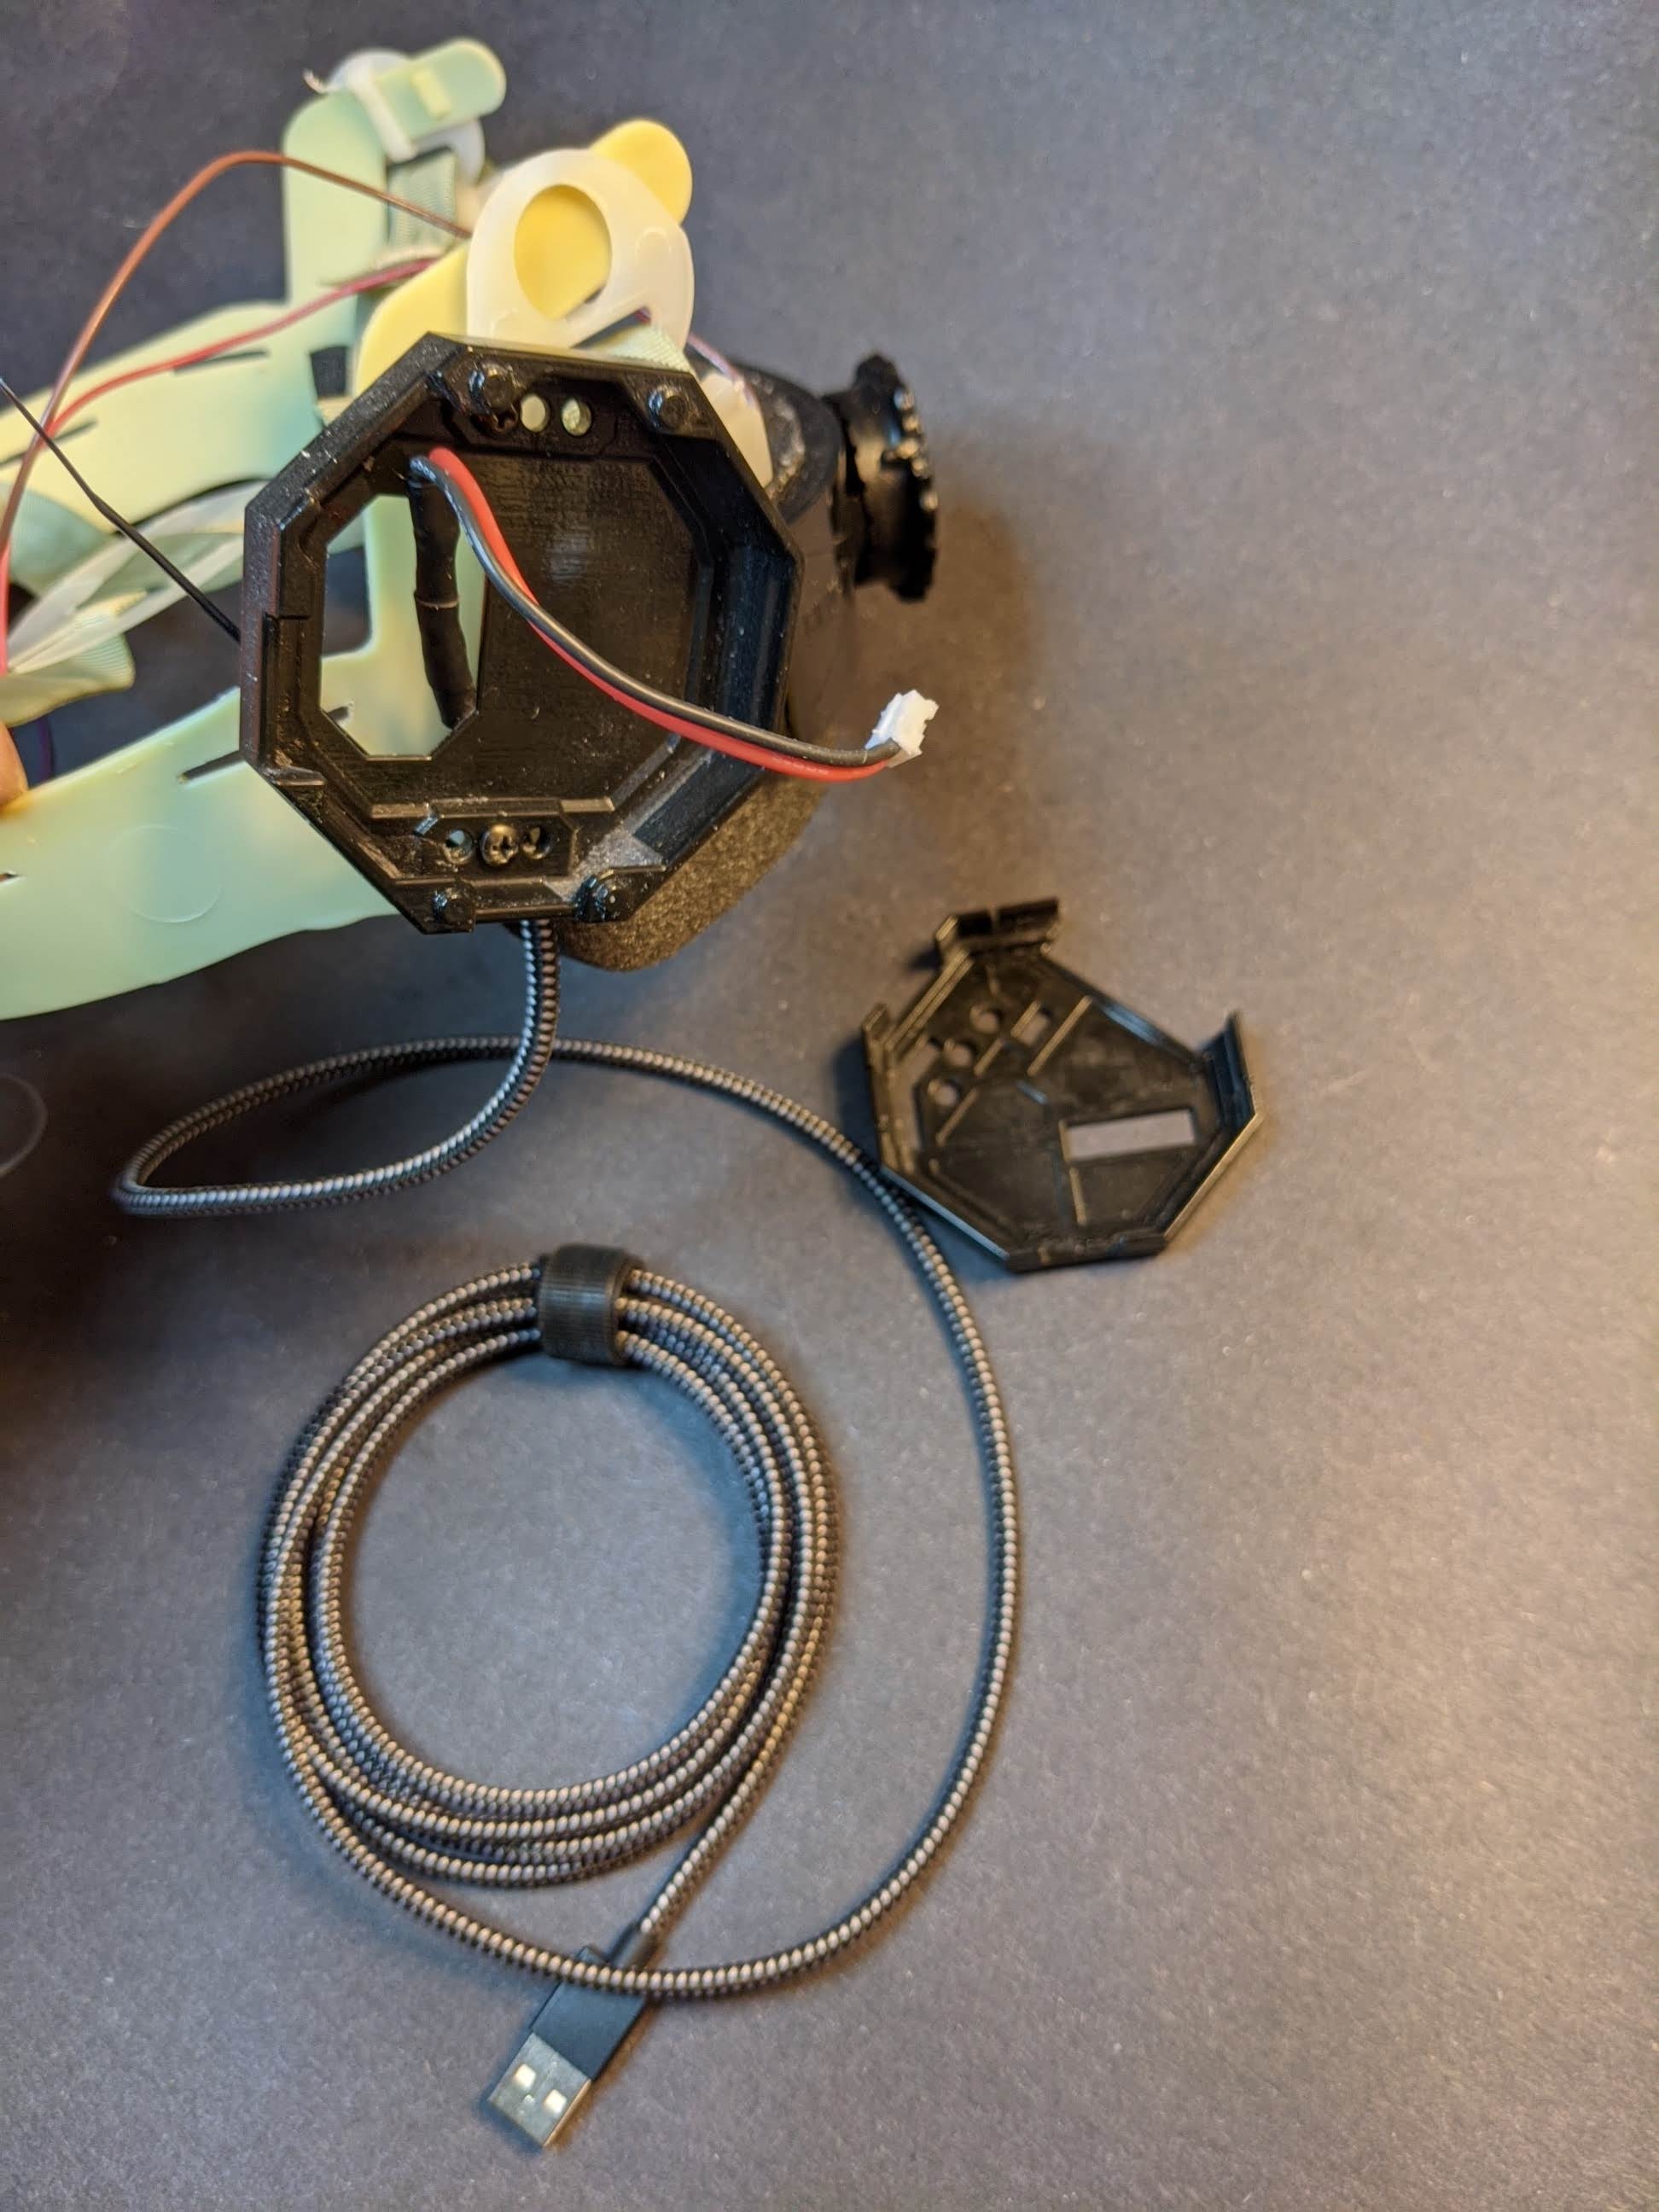
- Mount your Cyton board to the hat. Here we had an extra 3D printed board holder, so we attached that with some standoffs.
- Figure out how you will power your board. We find it convenient to use USB batteries that you get to charge your phone, so we spliced a 2mm JST connector onto the end of an old USB charging cord, and fastened it to the hat suspension using a tie wrap.
- Put your Cyton or Gaglion board in the holder and wire the sensors according to the color guide.
- Use some velcro straps to tidy up the cable runs.
- Start measuring your brain waves.
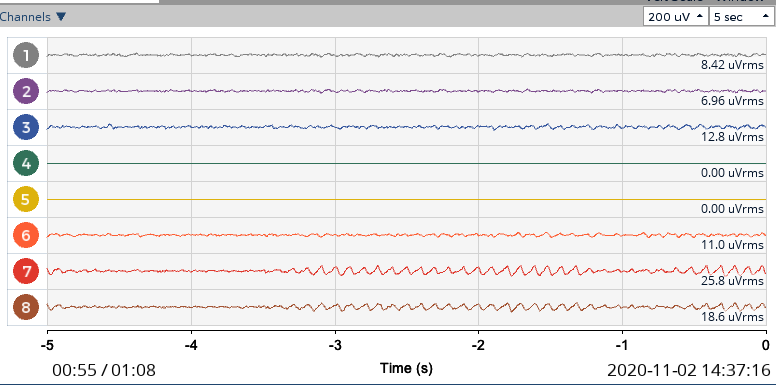
In my experiments, the signal noise using the home made head gear was comparable to data collected with the UltraCortex head gear. Here is a plot showing a nice clean signal from the head gear with some alpha waves detected.
There is a more detailed write up describing this build with some additional hints and instructions in a document published here .
Thanks for reading.
GB