Neurofeedback is a non-invasive way to control and measure your brain waves. This form of therapy allows you to train an otherwise involuntary body process – i.e. your brain waves – through conditioning. Neurofeedback is a kind of biofeedback which teaches self-control of brain functions to subjects by measuring brain waves and providing a feedback signal. It usually provides audio and or video feedback during a game. Neurofeedback could treat health problems like attention deficit disorders, hyperactivity disorders and sleeping problems, formerly all suppressed with medication. Based on EEG measurements, the user’s mind is trained to bridge new connections and to either increase or decrease the use of specific brain functions.

The aim of this tutorial is to build a beta neurofeedback pipeline with which you will be able to control a computer game and robotic car. The EEG technique used here is called neurofeedback. Here you will learn how to use OpenBCI cyton, neuromore and python to implement this neurofeedback pipeline.
HARDWARE REQUIRED
- OpenBCI Cyton or Cyton + Daisy
- Raspberry Pi 4 – Optional (any wifi model will work) computer with WiFi
- Ultra cortex IV / OpenBCI EEG Headband Kit / EEG headcap
- IDUN Dryode™ Alpha Kit / gold cup electrodes (Not required if you are using any of the above head wear).
SOFTWARE REQUIRED
PYTHON PACKAGES TO BE INSTALLED ON COMPUTER
- pip install oscpy
- pip install python-osc
- pip install numpy
- pip install progressbar2
PYTHON PACKAGES TO BE INSTALLED ON RASPBERRY
- sudo pip3 install oscpy
Introduction to Neuromore Studio
Neuromore is a bio-data acquisition, processing and visualization software. Neuromore allows users to connect to sensors such as EEG, EMG, heart rate monitors, etc, and read the incoming data in real time. It then parses this information through a data processing pipeline designed by the user. The output of this system can then be connected to visualization windows, external triggers, etc.
Installing Neuromore Studio
Neuromore offers a public edition that is free for non-commercial use. Go to this link and create a neuromore cloud account. After the cloud account is created, you will have to download the installation file from here. Download the latest release zip file, the instructions to install it can be found in their GitHub account. It is important that you download the studio.zip as it is the one that contains the visualisation modules.
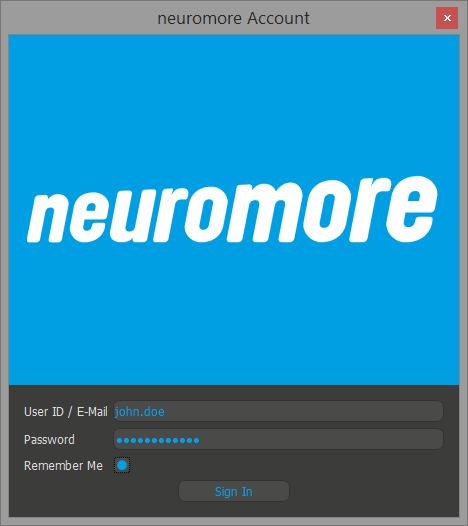
LOGGING IN
When launching Neuromore Studio for the first time, it will ask for your user account and password. Please enter either your e-mail address or your user account and your password into the given fields and press ‘Sign In’.
Nodes for Neurofeedback Pipeline
We will use nodes to build the neurofeedback pipeline, these nodes are found in the neuromore’s classifier. To learn about the neuromore nodes, click here.
Neurofeedback Pipeline

Neurofeedback pipeline
This pipeline will calculate the neurofeedback threshold, control the raspberry car and a cartoon game. The pipeline will acquire the EEG signals from the OpenBCI GUI using this script. It then filters the signals and performs FFT, then the appropriate frequency band is selected. For the tutorial, we will use electrodes Fp1 and Fp2. Here we are using beta as the feedback parameter, the calculated beta is sent out on OSC address “/out/beta”. To watch the video guide on neurofeedback pipeline click here.
How to find neurofeedback threshold and max neurofeedback values
This part is very important for neurofeedback. Each individual has their own brain patterns and this fact makes us train each and every individual. This script collects the user EEG data for 30 seconds and then calculates the beta_min, beta_max and beta_avg. We will use the beta_avg as our feedback threshold. The values of beta_min and beta_max are used in remap node.
To watch the video guide click here.
Pipeline to modify the neurofeedback values
The feedback threshold is set based on the average value of a given frequency band. Just like weight training you need to increase the weight to move beyond the plateau. The same way our brain gets accustomed to feedback intensity and we may ‘need to increase or decrease the values depending on our progress. The pipeline to increase and decrease neurofeedback values is mentioned below. To watch the video guide click here.

Increase neurofeedback pipeline

Decrease neurofeedback pipeline
Neurofeedback Cartoon Town Game

Visualization pipeline
This pipeline will be used to control a cartoon game, the speed and the score of the game is controlled by nodes movement-speed and session-points. We will connect our neurofeedback pipeline output to these nodes, this will allow us to control the car speed of the game using our feedback values. You don’t have to worry about building the visualisation pipeline, if you have the basic understanding of the neurofeedback pipeline that is enough to run the visualisation pipeline.
Go to Back-End File Systems → Examples → Visualizations → Visualizations Test. Double click on the Visualization Test pipeline example. Now you can see the pipeline shown in the picture above. All you have to do is connect your feedback node of the neurofeedback pipeline (refer to the below picture) to the movement-speed node and the /session/points of the Visualizations Test. The movement-speed node is the one that controls the speed of the car in-game, the points node will reward points based on the duration of neurofeedback.
To watch the video guide click here.

Neurofeedback – Cartoon pipeline

Playing the cartoon game
Neurofeedback and Raspberry Pi Integration
Let us use the output of the beta feedback to control a raspberry pi robot car. We can use this neurofeedback output to control any raspberry/arduino device.
We will interface a raspberry car to the Neuromore Studio. The raspberry supports the OSC protocol, we’ll use it to receive data from the neuromore studio.
I have used a raspberry pi 4 and an L298N motor driver to control the car. I have assembled a 4 wheel car chassis and connected the 4 motors to the motor driver.
HARDWARE REQUIRED
- Raspberry pi 4 (any raspberry pi model with wifi will work)
- L298N Motor driver Module -1
- Jumper wires (male to male) – 5 pcs
- Jumper wires (female to female) – 10 pcs
- Jumper wires (male to female) – 5 pcs
- Micro USB cable-1
- Power bank
- 7.4v Li-ion Battery pack for motors
- 4-wheel car chassis kit -1
L298N motor driver module
The L298N is a dual-channel H-Bridge motor driver capable of driving a pair of DC motors. That means it can individually drive up to two motors making it ideal for building four-wheel robot platforms.

Raspberry PI 4 GPIO and L298N Connections:
| PIN | L298N Motor Driver |
| GPIO 26 | IN1 |
| GPIO 26 | IN2 |
| GPIO 21 | IN3 |
| GPIO 20 | IN4 |
| GPIO 27 | ENA |
| GPIO 22 | ENB |
For wiring of the car, motors watch this youtube tutorial. The connections to raspberry and L298N are mentioned in the above table.
Neurofeedback Raspberry Pipeline

For demonstration purposes, we will use only one movement direction for the raspberry car. Here is the script to move the car in clockwise direction whenever there is the activation of the neurofeedback threshold.
- After connecting the raspberry and L298N, turn on the raspberry pi.
- Connect the battery’s positive terminal to L298N’s Vcc and connect the ground pin with L298N and raspberry pi ground pin.
- Run the script on raspberry pi.
To watch the video guide click here.
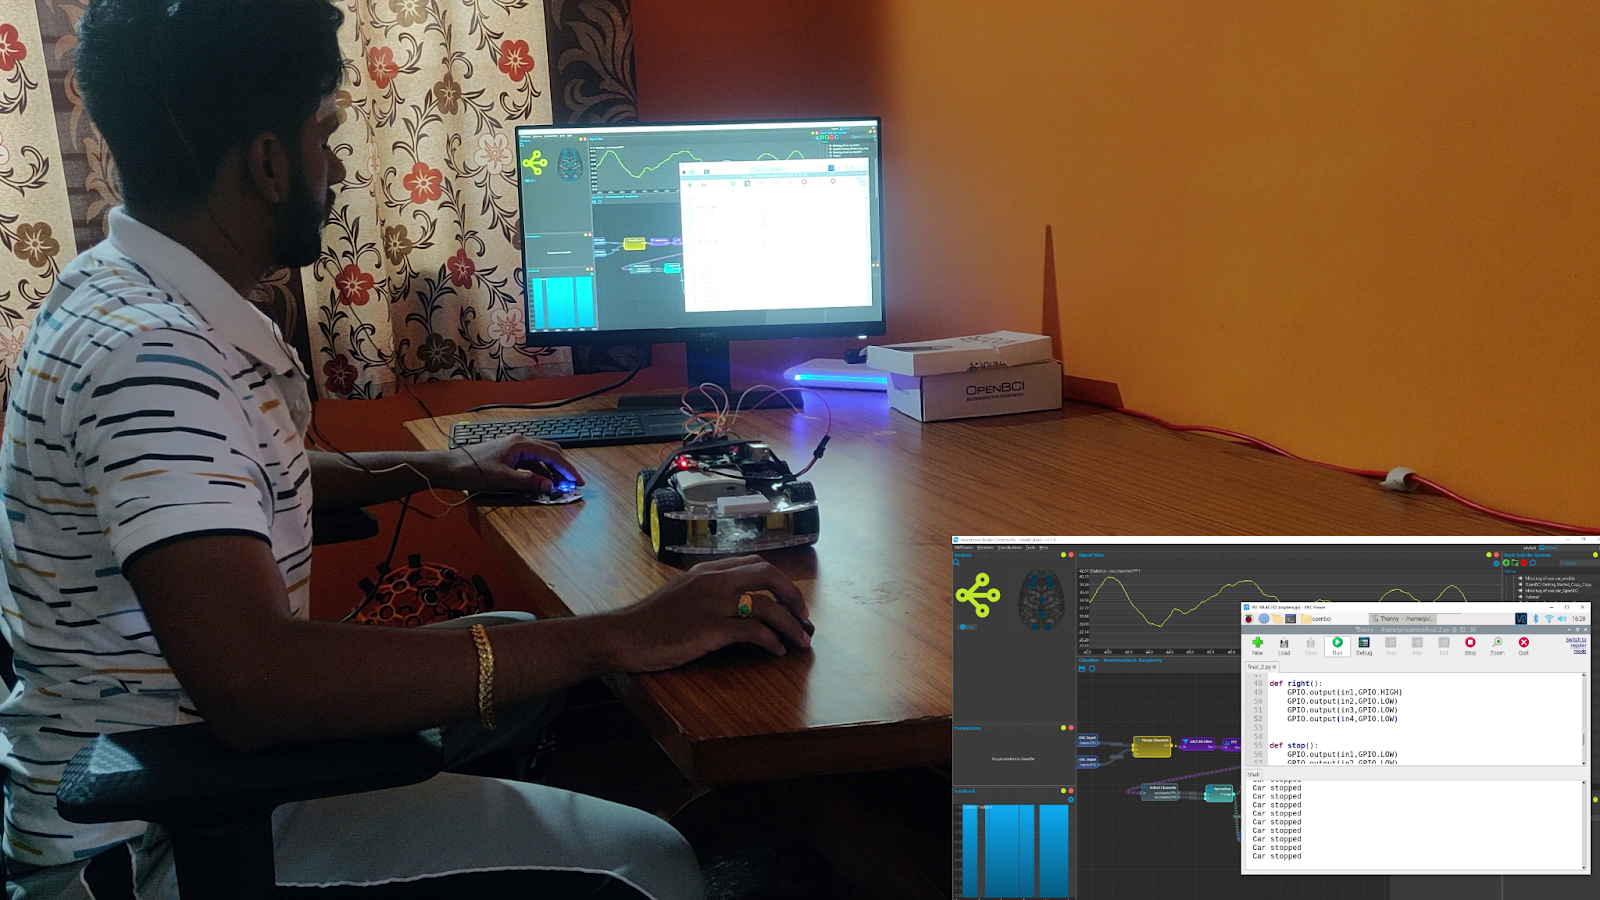
Controlling the raspberry car
Conclusion
This tutorial will help us understand how to build a neurofeedback pipeline and control games and raspberry pi, the raspberry pi can be used to activate different sensors like turning on devices, controlling assistive robots and so on. With OpenBCI and neuromore, anyone can build a neurofeedback system.
Who is involved in this tutorial?

Mr Rakesh C Jakati: Self-learning neurotech using open-source hardware, software tools and teaching the world how to get started with the magic of neurotech.
Contact: [email protected]
Leave a Reply
You must be logged in to post a comment.